

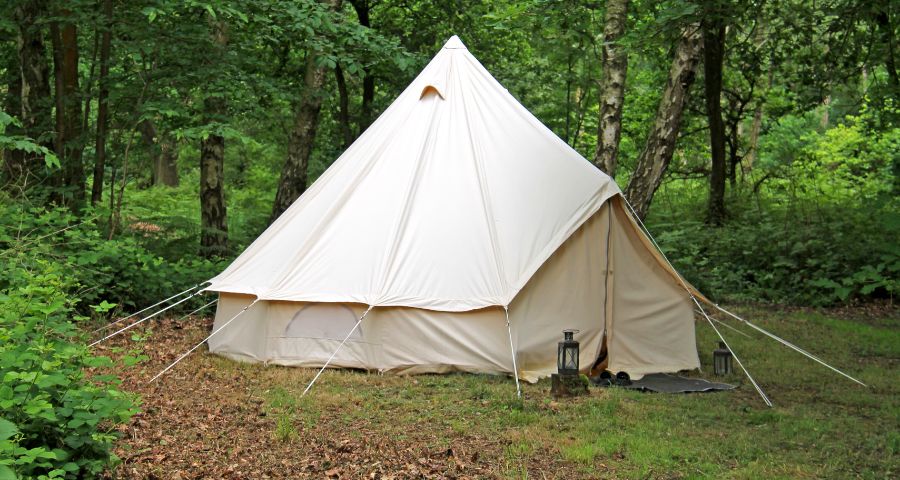
Canvas tents are way more expensive than regular plastic tents. But, one quality that makes canvas tents different from all other types of tents is their life expectancy.
These tents can be good for as long as 30 years. And If you use it with care, wash and maintain it well and patch the tears properly, it can go a long way.
In this blog post, we will discuss how to repair canvas tents so that they don’t propagate and render your tent useless.
So, how to patch a canvas tent? Here is a quick summary.
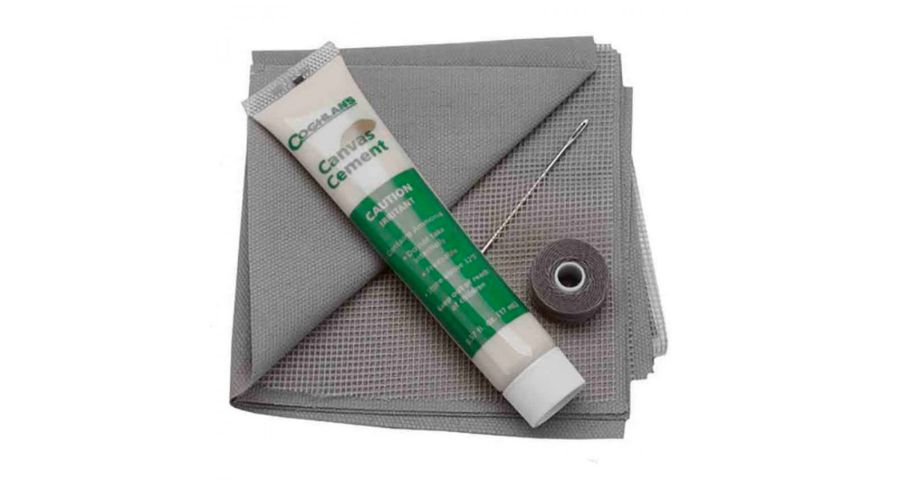
- Get a clean cloth, canvas patches, tent repair glue and a speedy stitcher.
- Clean both sides of the area of dust and apply the repair glue.
- Stick a circular self-adhesive canvas patch on both sides and let it dry.
- If the rupture is too large, use a speedy stitcher to sew the ends together and seal the seam with waterproof tape.
Patching a canvas tent is simple, but some crucial steps that most campers miss out on make the patches come out soon.
Let’s discuss in detail the right way to patch a canvas tent.
Should all tent holes be patched right away?
A tear or hole in your canvas tent isn’t the end of the world, but I kid you not, tear propagation definitely is.
The only thing that makes a tear worse is its further propagation, as the larger the tear, the harder it will be to patch it up.
This is why it is necessary to patch the tent up as soon as possible. But not all tears & holes are equally prone to propagation.
Tears and holes only propagate when they are under stress.
If you have a small cut or hole on the side of your tent wall in an area where it is not subjected to any lateral stretching, the chances of propagation are small, and you can ignore it if you don’t have the time or resources to patch it right away.
But if the hole/tear is in an area with lateral stretching, you should immediately patch it up to avoid further propagation.

Identify the type of rupture
Before you can patch up your canvas tent, you must identify the type of hole, tear or rupture you are dealing with.
The method of canvas patching will be different for different types of ruptures. Here are a few common ruptures or holes that you might encounter.
- Small pinch holes: These are small holes from sharp and pointy objects either in the wild or in your car/jeep. These holes are normally round and do not propagate easily due to their roundness (no single point of stress or propagation). They are also impervious to water because the cotton canvas fibre swells when wet and covers the hole.
- Medium to large pinch holes: These are holes large enough to put your index finger through. These holes are more troublesome because they are more prone to tear and propagate, especially under stress. They also allow water to go through the tent wall and leak inside.
- Tears & ruptures: These are sharp cuts in the tent wall that are dangerous because of their geometry. Compared to round holes, they are very prone to propagate because of the stress concentration points along the sharp edges of the cuts.
- Seam ruptures: Another common type of rupture is along the tent seam. They are also prone to propagation because seam areas are normally under high stress.
Clean the rupture area
Before you can patch up your canvas tent, you must prepare the area for proper patching.
To do this, take down your tent and spread the canvas on the ground so that there is no tension in the ruptured area.
Now, take small scissors and cut all the frays sticking out of the ruptured area. This is important because it will prevent the patch from sticking properly.
After you remove the frays, look for any solid dirt and remove it too.
Lastly, clean the area with a few drops of denatured alcohol and water solution. This will remove dust, minute dirt particles, and chemicals and properly clean the area for the patchwork.
Now, the canvas is ready to be patched. But as we discussed above, each type of rupture or tear has a slightly different type of patching process.
Let’s discuss the step-by-step process for each type.
Canvas tent repair with glue- for small pinch holes
Small holes can be easily patched and closed with good Polyurethane glue.
Closing small holes is far easier and more efficient than the traditional stitching process. Polyurethane glue should be a part of your tent repair kit out in the wild.
StormSure is a popular Polyurethane made glue that is tough and non-breakable and flexible and waterproof. To apply the glue to small holes, follow the below steps:
- After properly cleaning the pinch hole area, take any sticky tape and put it on the front side of the canvas wall. This temporary tape keeps the glue from spilling over to the other side.
- Fill the hole with the stomsure glue and spread it 5mm around the hole minimum with the help of a wooden spatula or any other flat surface.
- Leave the glue to cure for a few hours (or leave it overnight to cure properly.)
- Once the glue is cured, you will see a transparent solid layer over the hole.
- Remove the temporary tape you put on the front side of the hole.
- You will see a solid, flexible, waterproof and permanent layer of Polyurethane covering and patching the hole area.
If you prefer a visual demonstration, see this small video from Stormsure.
Patching canvas – for medium size holes & tears
For smaller holes, glue repair may work flawlessly. It’s easy to apply and repairs your tent within a few hours of curing.
However, for larger holes and ruptures/tears, you will have to reinforce the area with a patch. These canvas repair kits are available online (I would recommend this one), and you should always keep one handy in case you ever need canvas patching during your trip.
A patch is a piece of fabric, either the same type as the tent fabric or another suitable type, that covers the ruptured area and redistributes the stresses over a larger surface to stop any tear propagation.
Consider it a bandage but rather a permanent one.
Select a suitable patch
There are two types of patches that you can use:
- Ready-to-use patches: These patches are widely available on Amazon and can be used instantly. You just have to peel the adhesive side and put the patch over the rupture. They work best for small tent ruptures. You can check these self-adhesive patches for the canvas on Amazon. They are also called canvas repair tapes.
- Conventional patches: If you don’t have the self-adhesive patches handy or the rupture is more severe, you will have to make your own conventional patch from the same fabric as your tent.
The ready-to-use self-adhesive patches are very easy to use.
You just have to peel off the plastic layer over the adhesive side, put them over the cleaned area around the tear, and apply a little force to bind the two layers.
With conventional patches, you have a little more work to do.
Prepare the patch
First of all, make sure you cut the patch at least 3 – 4 inches larger than the hole or ruptured area to spread the stress over a sufficiently large area.
Secondly, make sure you cut the patch in a circular shape. If you leave any sharp corners (like in a square patch), it will have a higher probability of peeling off from the corner, thus rendering the entire patch useless.
Round patches have no sharp corners to peel off and hence stay on for a long time.
Select suitable adhesive or glue
Liquid glues are the best to patch tents as they won’t let the fray come out and weaken the patch. In liquid glues, latex cement and contact adhesive are quite popular when it comes to repairing a tent.
But in my experience, both of them fail at some point.
The best glue for canvas tent repair is the barge rubber cement which never disappoints. It is extremely reliable and doesn’t get hard or crack up like contact cement.
Apply the patch
Now to apply the patch, take a small brush and paint the glue on the hole or stitched tear and the sides on which the patch will be placed. Then, let the glue set for a few minutes before you put the patch.
Place the patch with care and make sure the circular corners are well glued as they are prone to peel off if not properly bound.
Then, once the patch is placed, support the canvas with a smooth surface and roll a rolling pin onto it firmly to remove excess glue. And let it set.
Then, apply the same size patch on the other side of the rupture or tear in the same position and repeat the process.
Once done, put a few heavy books or other weights over the patches and leave them overnight for a secure bond.
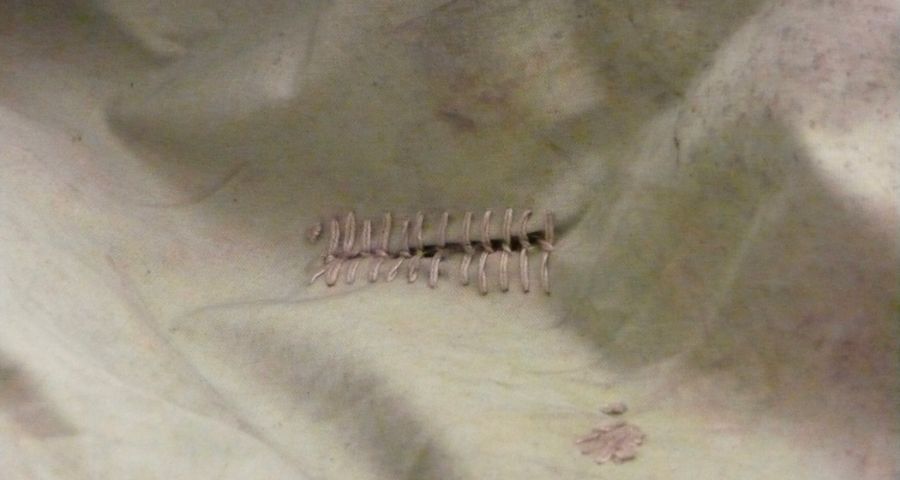
Canvas stitching – for larger tears & seam ruptures
First off, you do not need to stitch every tear. The tear to be stitched must be 3-6 inches or longer. Any tear lesser than that can be repaired by patching or using canvas repair glue.
Stitching is the strongest method of repairing your tent ruptures.
Compared to patching the canvas or using glue, stitching produces a better binding. It can also be used to repair seam ruptures.
You can use your normal sewing machines or a speedy stitcher to stitch. If you’re out in the wild, repairing, use a speedy stitcher and a bobbin of wax threads and stitch the fabric with lockstitches.
The speedy stitcher is a very simple and commonly used hand stitcher, which is quite affordable and easy to use.
With the stitcher, make sure the stitches are close and smaller in size. To be precise, keep the stitch density around 6-8 stitches/inch.
This count is not very important, but the closer the stitches, the stronger the repair. Check out the video below to see how to sew a tear using a speedy stitcher.
Once you are done stitching the seam rupture or wall rupture, the next step is to make it waterproof.
To do this, you can use any good seam sealer tape commonly available in hardware stores or on Amazon (check this one out).
Apply the seam sealing tape along the seam run and press it to make a good binding.
How to patch a canvas tent – Conclusion
Knowing how to repair canvas tent can save you from much trouble in the wilderness. It is something every regular camper should learn.
Patching a canvas is easier than it seems. Though it might sound difficult to someone who’s never done it before, it gets stress-free once you know the drill.
It might take 15-20 minutes the first time, but the number of dollars you save by mending your tent would definitely convince you to repair it once, as these tents can be used for life.
Recommended Camping Gears: I have compiled a list of my favourite camping gear in one place. The selection is based on my own personal experience using them for many years camping as well as feedback from fellow campers. Check them out on my Recommended Camping Gears page