
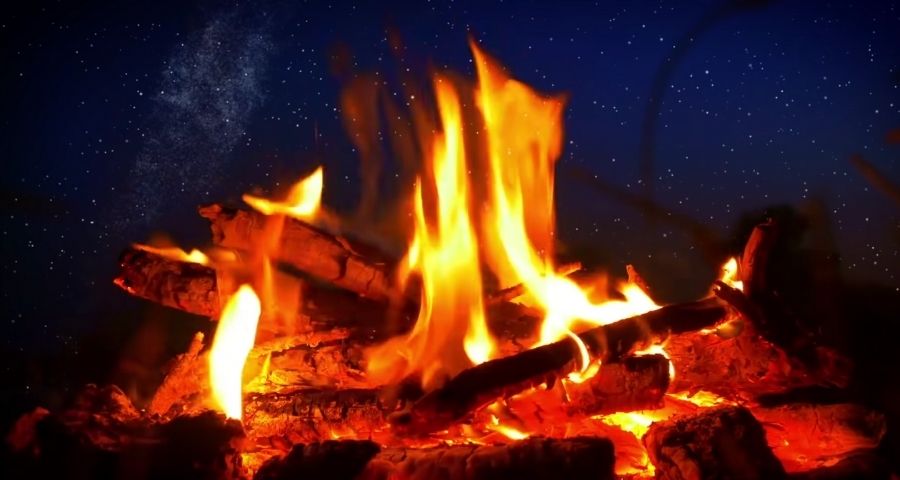
Rain or bad weather encounters during winter camping are inevitable. Ironically, in those situations, one of the basic needs is a roaring fire pit with crackling woods and red hot stones. The irony of the fact that rain and fire do not really go hand in hand is pretty much what worsens the situation!
You cannot really do without fire during storms! Unless you are camping in a fancy pre-set camping station that has got you covered. Sadly, that’s not usually the case for most of us because habitual campers usually welcome uncertain situations with an open arm. So, it would help if you had the fire for warmth, cooking, and even for safety in an ordinary location.
So, how to start campfire in rain? To start a campfire in rain, select an area that is fully or partially covered from rain (under a tarp or big rock). Dig out the wet ground to create a dry fire pit. Add tinder & kindling to the bottom and light it up with a chemical fire starter or simple match stick. Once the fire started, put in hardwood to fuel it and make it go.
If you successfully light the fire, then it just requires a few measures to maintain it overnight. Let me tell you a few hacks that have always worked for me despite the weather changes.
Let’s begin!
Challenges of lighting a fire in rain
Before jumping on, let’s first discuss the couple of challenges that you face when trying to build the fire.
#1 Finding bone-dry wood
Finding dry wood is one hell of a challenge in rains because everything ends up damp even after a few minutes of rain. Moreover, it is 3x more difficult to build up a fire pit with damp wood or ignite the fire with wet or soft kindling sticks
#2 Winds and scattered showers
Rain is not the only problem existing in this situation. Rains often accompany heavy winds, and no matter how dry you keep your fire area, breeze and scattered showers can distinguish small-scaled fire in less than a minute.
#3 Finding the shade
To avoid showers and winds, you need to find a place that is shaded and has much lesser airflow. Creating a shade in a place where there are no trees around can be a daunting job!
Let me tell you how you can deal with all these challenges and build up your campfire step by step.
#1 Finding the right spot
First things first! Where will you build your fire?
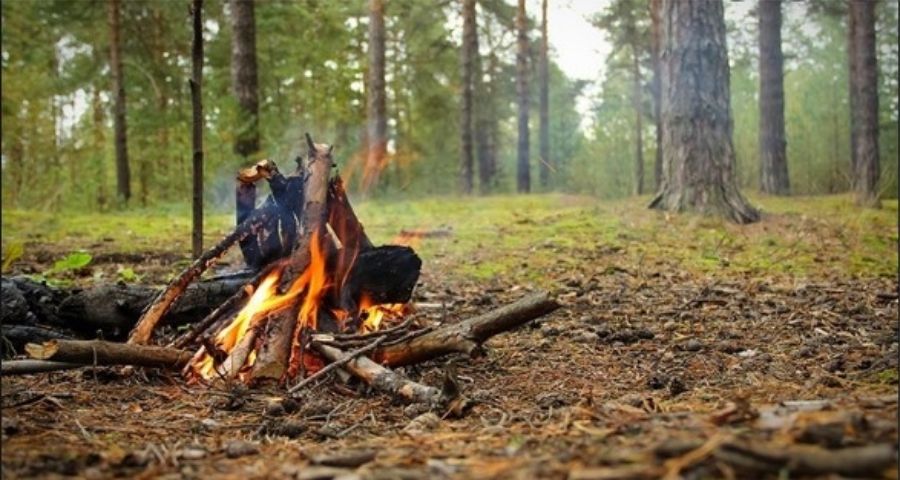
In any winter camping trip, even if it rains or not, it’s better to prefer a place where there is less ventilation and more shade. Because wind restriction will keep you from cold. This will work for you even if you’re caught up in the rain.
Natural shade
Find the spot where you can get shade from dense trees. Building the campfire beneath dense trees not only provides you shade to light up but also provides you with the essentials like wood, tinder, and kindling.
If there are no trees around, try finding slightly damp or dry places beside big rocks or mountains. It also restricts the airflow and keeps the fire burning! Don’t go for the spot that has puddles or stacked water anywhere near!
Tarp-Shade
If that’s also not possible, then build one for yourself. Use your inflammable tarp or rain-fly in a rectangular configuration to build a one-sided shade the provides enough shade that lets you work on lighting the fire. You only need shade in the direction of wind flow to ignite the fire. (Remember that this rectangular tarp configuration only works for the initial lighting process, and it will not work for maintaining the fire)
If the wind flow is inevitable, place a large piece of aluminum foil over the small-scaled fire. The foil will restrict the flow and will help you in the ignition.
#2 Preparing the spot for campfire
Now, if you are lucky enough, your spot will be dry and ready to get the fire started.
But, if that’s not the case, then you might need to prepare the ground.
If the spot you chose is damp, then the best thing to do is to use your shovel and dig the ground in a circle of 1.5-2m diameter. You don’t have to dig deep. Just deep enough to remove the damp topsoil and to restrict the airflow at the base, and for creating a dry base for your fire.
If the rain hasn’t stopped yet, make sure you shade the area with the tarp in an A-frame configuration before digging, to prevent ground wetting. A-frame tarp also helps keep the fire maintained, well shaded, and helps in burning for longer times.
#3 Collecting a good amount of dry woods
To start a fire, you don’t just need wood logs. Tinder and kindling play an important role in lighting the fire in rain. Tinder and kindling are small and thin pieces of dry wood that help in building a fire. In such weathers, you need a good amount of both to start the fire.
To collect them, keep a waterproof poly-bag with you and start your search!
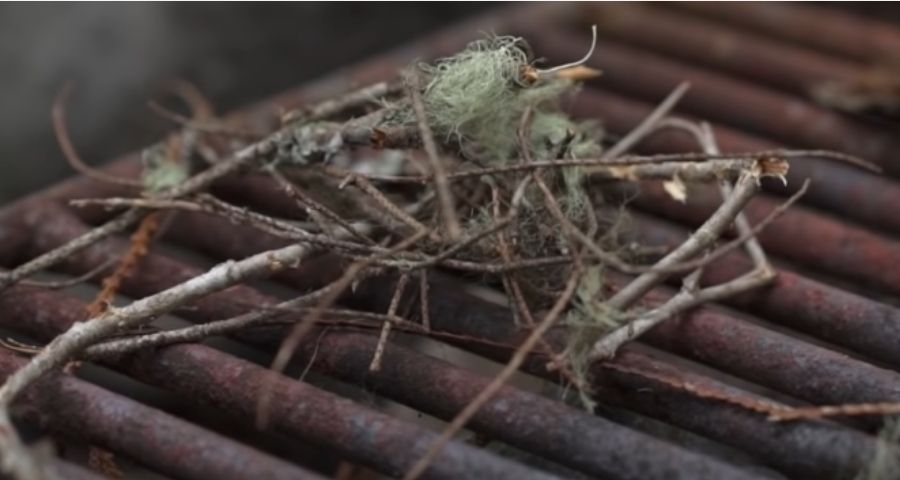
Tinder
Tinder is the smallest of all three can be easily found. Any tiny pieces of dead dry plant, tiny dry leaves, linters, or even dry cotton can be used as tinder.
If you can’t find any of them, or the rain has wetted everything, the best way is to create the tinder. Take a sharp knife and a piece of dry wood. Scrape or shave small and thin layers of wood and keep it in a waterproof bag!
Kindling
Kindling can be found in dead trees (dead, not rotten). Dead trees usually have no life or leaves. All the small branches that are the size of a pencil, in length and diameter, can be used as kindling.
During rains, most kindling seems to be damp on the surface.
If you can’t find the absolute dry ones. Try breaking every kindling you find. The ones that are dry inside usually break with a small (tik) sound. They are hard, brittle, and break easily as compared to the wet ones. Wet kindling tends to bend more easily, whereas the internally dry ones would break instantly.
Find a stack of these small sticks and keep them in the poly bag
Fuel Wood
For camping in a rain forest or winters, the best fuelwood log you can purchase or find is the white oak wood log. White oaks lie under the dry wood type because they are so water-resistant that they were initially used to build boats. Not only that, these woods burn quite well and are the warmest hardwood of all. This is why for the rainy weather, it is the best fuelwood!
For camping in rain, it’s best to buy 1/4 cord or more than 12 bundles of these woods for overnight use! to know more about firewood – check out my blog.
#4 Configuring your campfire
Campfire configuration has a lot to do with how well and how long the fire burns. It helps in maintaining the fire for longer times. The most common fire configuration is tipi-fire, but unfortunately, it isn’t effective in rainy weather.
The best configuration for rainy nights is a log-cabin fire or crisscross fire. This configuration builds up like a square structure that resists wind and has space in between for oxygen that helps the fire to burn.
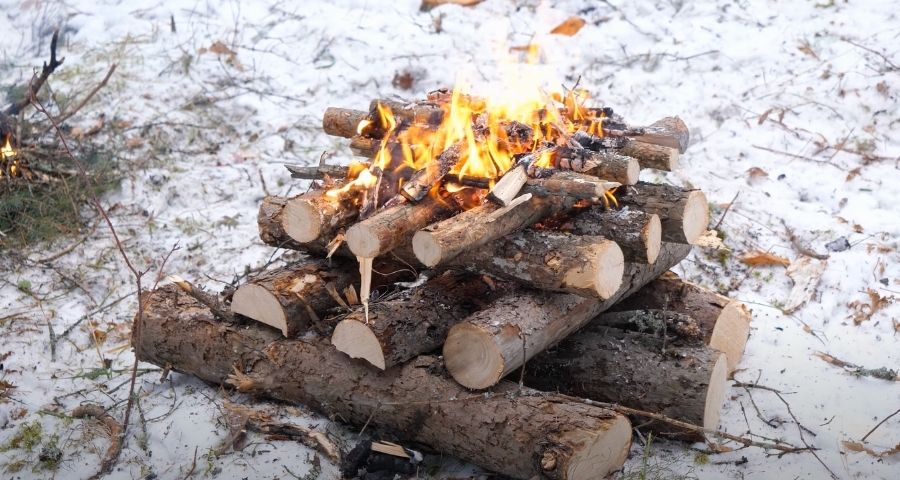
To set up the fire, create a crisscross base with larger wood pieces to keep the other woods a bit off the ground. Place fire-coal, which is the tinder and kindling, at the center of the crisscross.
Build a bit tall log structure in the surrounding to keep the fire going for longer time periods.
#5 Light up the fire
To start the fire, use a foot-long piece of duct tape and make three rolls of it. Duct tape has cotton mesh made of fibers that burn quite instantly. Keep the rolls in a triangle in the center of all tinder. Light up the sides of duct tape with a lighter and wait till it reaches the tinder and then kindling.
The best thing about this configuration is that the fire itself dries the surrounding woods. So by keeping wood logs around, the fire will dry up woods and prepare them to burn next. This is how I maintain the fire for longer times. Keep adding 2-3 woods every hour or keep woods in a ramp-like structure the helps the wood to roll down in the fire on its own!
Even if the tarp shading the fire is flame-retardant, make sure you keep it so high that it doesn’t get in contact with fire.
Place your chair next to the fire and enjoy the warmth!
Conclusion
Lighting a fire amidst the pouring rains can be tough. It not only requires skills but the speed and quick use of logic. To build a fire fast, you need to understand the flammability of natural materials, so you know what burns the best and what not! By following the recommended steps, you can build your campfire in a much smarter way! Have fun!
Recommended Camping Gears: I have compiled a list of my favourite camping gear in one place. The selection is based on my own personal experience using them for many years camping as well as feedback from fellow campers. Check them out on my Recommended Camping Gears page